
Apps for Tableau ExtensionsManager Guide
Manage All Your Extensions In One Place
The following guide provides extra context for the use of the ExtensionsManager from Apps for Tableau, allowing you to manage all your extensions from one place!
Prerequisite
There are a few prerequisites and things you’ll need before the installation:
- A web domain, for example, <https://extension.company.com> (create a DNS entry) which points to the host of the extension.
- SSL certificates for the above domain (the installation requires the domain’s `.crt` and private `.key` file, or a `.pfx` file).
- Server Resources: 2 vCPU, 4Gb, 50Gb application disk space, 100Mbps or 1Gbps network-interface
- Firewall rules permit access on the port the application will run on. Both internal, external, network and server-firewall.
- Linux only: At installation the application will run on a random available port. This port should be temporarily be opened up to access the installation wizard.
- VizSlides and Dreamteams only: Administrator access on Microsoft account (for the custom add-in setup for).
Please note that Tableau requires extensions to be running on HTTPS/SSL connection and therefore required!
This guide does NOT apply for WriteBackExtreme, MailScheduler and SuperKPIs!
Download ExtensionsManager
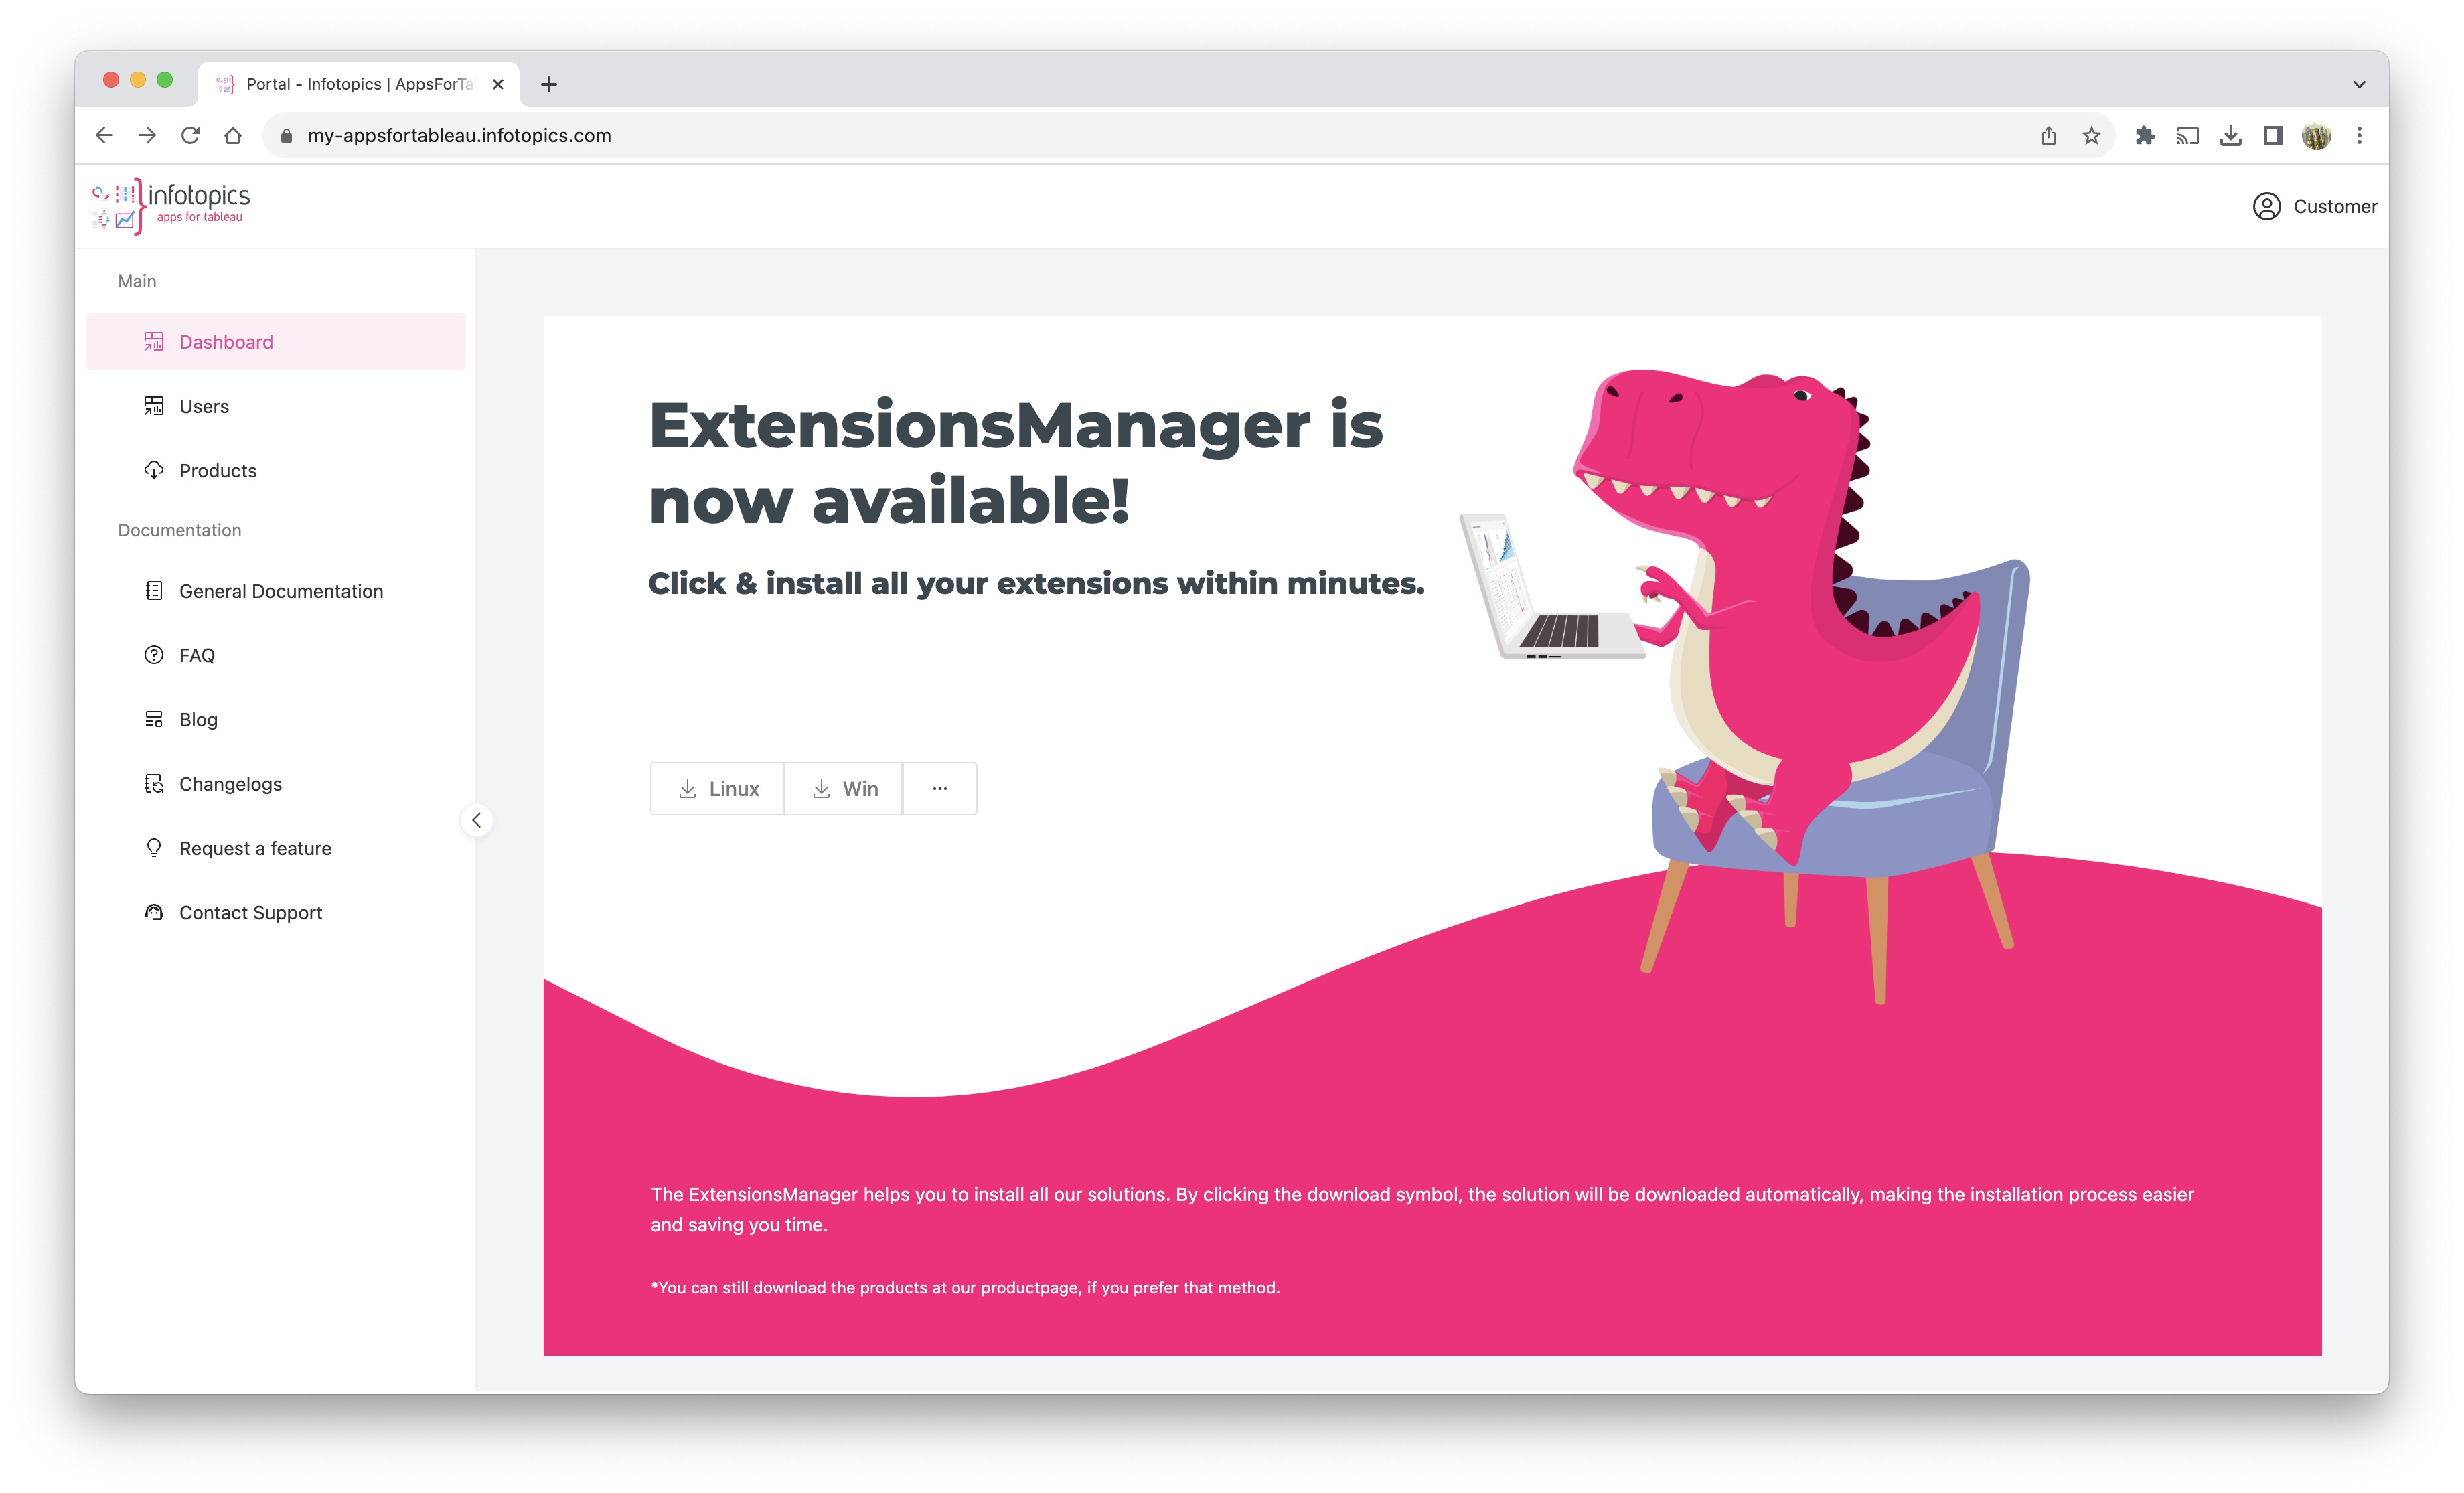
In order to use the ExtensionsManager, the executable for the relevant platform is required. The executable can be downloaded from the Apps for Tableau portal (https://my-appsfortableau.infotopics.com).
Operating system
Run as user
You can run the ExtensionsManager by double clicking it, this is great for testing and installation. Make sure to place the application in a separate folder as it will create configuration files besides the executable file.
If you want to deploy the ExtensionsManager application in production follow the steps below.
Run as a service on Windows
The easiest way to have the extension started automatically as a service is to create a task in Windows Task scheduler. The trigger of the task must be configured to “System boot” and it is best run under System Credentials. Below the steps to follow.
1. Start windows Task Scheduler
2. Create a new task
3. Enter the general task information

- Name the task with a reference to the ExtensionsManager.
- Set SYSTEM user account to execute this task. It is important to use an account with privileges to start services
- Check what version suits your system best (Windows Server)
4. Set trigger for the task to be executed

- Add a new _trigger_ on the TASK pane
- Select the trigger “At Startup”
- Make sure the trigger is enabled
5. Set the action to start the program

- On the “Actions” tab select “New…”
- Set your action to type “Start program”
- Select the binary file of your extension as the “Program”. In this example it is “C:appsextensions-manager.exe”. Make sure to include the entire path.
- Set the “Start in” folder. This is very important for the service to start correctly. It is the path where the binary file/program is located. In this example: “C:apps”
- Press OK to store your “Action”
6. Set proper conditions for task

Make sure the task will always be executed (battery or AC power)!
7. Set extra settings

- Make sure the task will remain running
- Make sure the task can be started on demand
8.Manually start the task

- Once you saved the newly created task select it in the list of tasks
- Click the “Run” button on the right panel to start the new task
- The status of the service will change from “Ready” to “Running” just like the ShowMeMore task in the screenshot.
9. Start application
- Click the “Run” button on the right panel to start the new task
- This could take up to one minute before the ExtensionsManager opens.
Run as systemd service
1. Create a Unit file to define a systemd service:
File: /lib/systemd/system/myservice.service
[Unit]
Description=ExtensionsManager
After=network.target
[Service]
User=your_user
WorkingDirectory=/usr/local/bin
# when using config:
ExecStart=/home/user/aft-extensions-manager-linux
Restart=always
[Install]
WantedBy=multi-user.target
This defines a simple service. The critical part is the `ExecStart` directive, which specifies the command that will be run to start the service.
2. Copy the unit file to /etc/systemd/system and give it permissions:
sudo cp myservice.service /etc/systemd/system/myservice.service
sudo chmod 644 /etc/systemd/system/myservice.service
Start the Service
1. Once you have a unit file, you are ready to test the service:
sudo systemctl start myservice
2. Check the status of the service:
sudo systemctl status myservice
If the service is running correctly, the output should resemble the following:

Here you can also find the port the application is running on. In this example it is 38209. You can start the installation by going to the ip of the server:port.
In our example: http://34.122.12.43:38209
If you already have the DNS record pointed to this IP you can also go to: http://yourdomain.com:port
Note that we do not use https yet as this is configured in the installation later.
3. The service can be stopped or restarted using standard `systemd` commands:
sudo systemctl stop myservice
sudo systemctl restart myservice
4. Finally, use the enable command to ensure that the service starts whenever the system boots:
sudo systemctl enable myservice
Created symlink from /etc/systemd/system/multi-user.target.wants/myservice.service to /lib/systemd/system/myservice.service.
5. Whenever you reboot check the status of the service:
sudo systemctl status myservice
You should see that the service logged its start time immediately after booting:
Getting started
When running the executable, you will be greeted by the following screen. Here you will have the choice between online and offline setup of extensions. Below you will find detailed descriptions of each method of extension management through the ExtensionsManager.

Configuration
Offline or Online
The initial choice for configuration is between the Offline or Online options. Pick Online if your environment is connected to the internet, otherwise pick Offline.